

How To Install Butcher Block Countertops Lowes
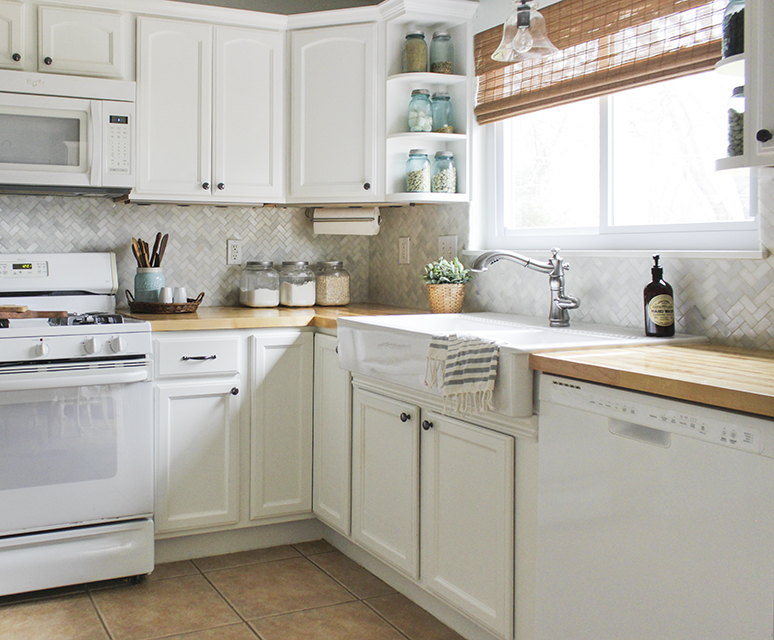
So I sorta cheated in my Christmas home tour and showed y'all my completed kitchen before I fifty-fifty shared progress and a proper kitchen reveal! Cheque out my design plans for the space Here. So today I'm sharing with y'all one of the progress posts, How to Install Butcher Block Countertops.
Permit me start off by explaining my choice for butcher block. Had I a larger upkeep, I probably would accept opted for white stone counters, because I dear an all-white kitchen. However, I needed to brand the most touch to our kitchen, with the to the lowest degree amount of money out of pocket, and our realtor informed united states of america that the updates that nosotros have already made on the firm, has already put us 'at or in a higher place' our neighborhood, so spending a bunch on overnice counters wouldn't be a worthwhile "investment" from a house-value perspective. Additionally, I knew they would add warmth to the infinite to residuum out the "absurd" blue walls, and I could finish them with a super hard topcoat, making them virtually worry-free.
Then, allow's start out with tools and supplies you will want to gather upwards before starting the project.
What You Need :
(some affiliate links used beneath)
- Maple butcher cake counters, 25″ depth, viii′ length (I needed 14 feet, then I got 2, 8′ lengths, but they come up in 12′ lengths as well)
- Round saw
- 2 clamps OR Kreg Accu-Cut (this is a saw attachment that creates an like shooting fish in a barrel guide to cut along)
- 1×10 inch board, approx. 2 1/2 feet long (this is to guide your circular saw for a straight cut if you lot don't use Accu-Cutting)
- Jigsaw with fine tooth blade
- 3″ wood screws, ii-4 per cutting piece
- 120 dust, 180 grit, 220 dust, 600 dust sandpaper for orbital sander & 220 grit sanding sponge
- Orbital sander
- TimberMate Forest Filler, maple color or color to match your choice of butcher block
- Spatula/scraper
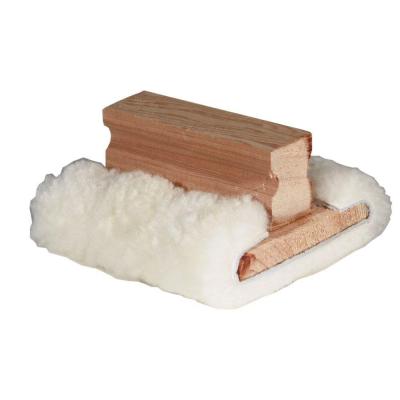
- Lambswool staining pads
- Waterlox Original Sealer/Stop (NOT the low VOC kind)
- Water-based kitchen and bathroom waterproof agglutinative caulk (for sink reinstallation)
Step 1: Remove Old Counters
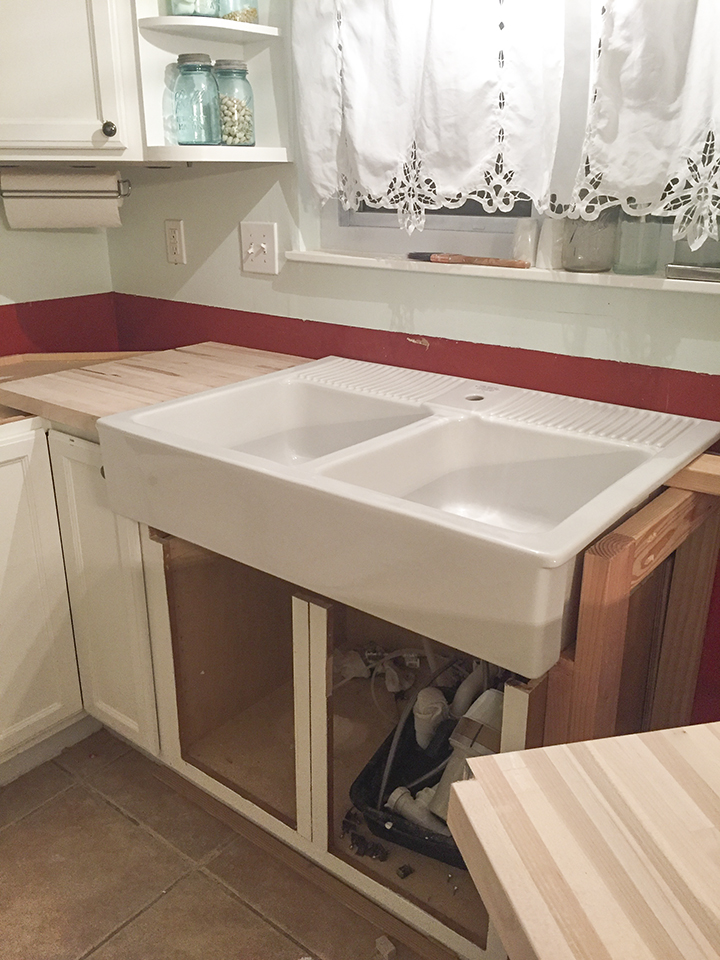
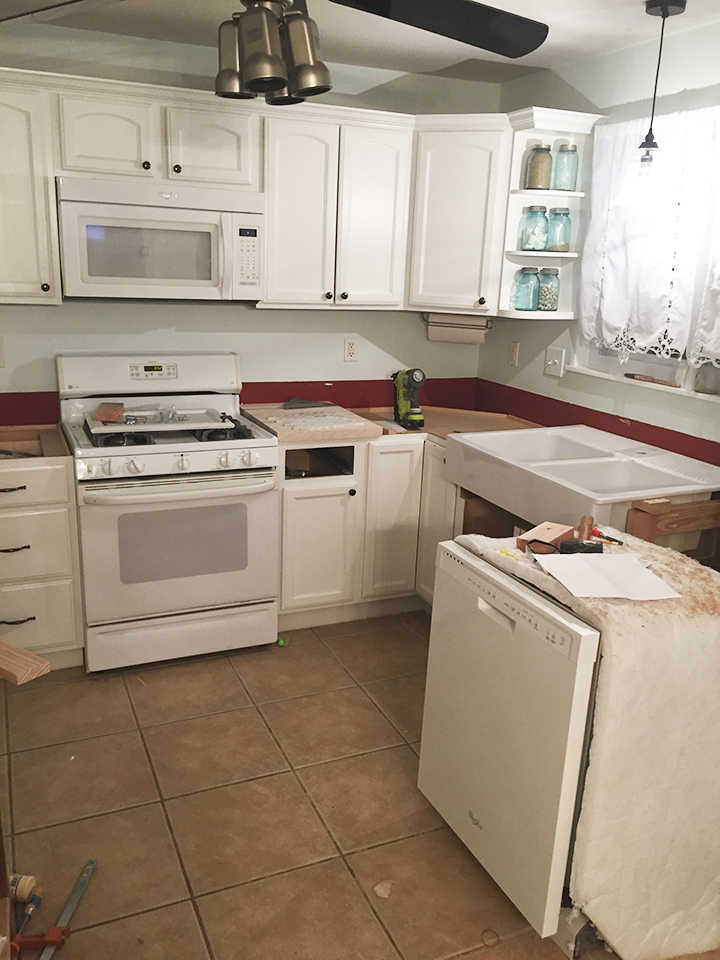
This is a no-brainer, right? But this part actually takes quite a bit of time and intendance and information technology is part of the prep-work phase. We started out past cutting the existing caulk so that when they were removed, it wouldn't take huge chunks of pigment/wall with it. I opened all the lower cabinet doors and drawers, located where the screws were attaching to the old laminate counters, and removed said screws. In that location were virtually 2-four screws every ii-four feet of counter and I saved the screws to utilise when attaching the new counters. One time all the screws were out, nosotros turned off the water to our kitchen sink, unscrewed and detached all the plumbing, and unscrewed the bolts that were keeping our metallic sink in place. At this indicate, everything was 'loose'. Carefully, nosotros pried upwardly our sink and took it out. Make sure to shove a sock or rag in the pipes so it doesn't stink up your house. And so we removed the sections of counter, starting with the smallest. When working effectually the stove, we slid information technology out a little so there was more 'wiggle room'.
If you are going to replace your sink with a new one, now is the time to do it, just make sure you measure out correctly so information technology fits in the space y'all have. Nosotros did non measure correctly (or rather, I did not measure correctly) and I had to rebuild some lower cabinet parts so I could make room for an boosted 6 inches of sink. I had my middle set on a farmhouse style frock-front sink and at just $300, Ikea'due south was the best value for our budget, and so I was adamant to make it work. Regardless of the brand of apron-front sink you choose, they come with clear instructions on the cut-out dimensions for the counters, in lodge to fit the apron-front.
Step ii: Measure out Front, Middle, & Dorsum of Each Segment
It is normalfor walls to notbe perfectly square and fifty-fifty, then you lot will want to measure the distance from the wall to the end of each segment at the forepart (closest to you lot) , middle and back (closest to the wall). Be very precise. I went to the nearest i/16th of an inch. We started with the shortest segment, which was shut to the oven.
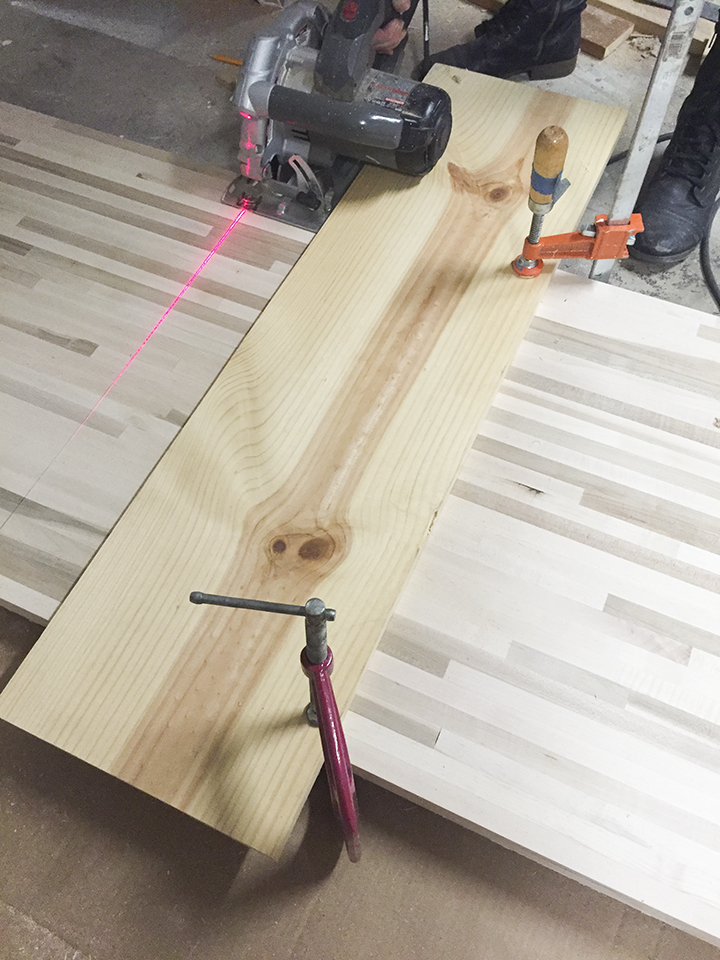
Step 3: Cut the Shortest Segment Showtime
Measuring from one direct side of the butcher block piece, mark the three distances for the outset segment (front end, middle, back). Use a direct edge to connect the three marks and depict a line. Measure the distance from the border of your curricular saw to the outer border of the metallic shoe. Take that measurement and mark it from the line y'all drew on the butcher cake, drawing a second line where your guide lath will become. Clamp a 1×ten board, lining up with the 2nd line y'all drew. You could use a narrower board, just I wanted ample space for the blade motor. This will act equally a guide so that you tin can hands cutting a very straight line. You will want to hold the circular saw in identify and see where the saw bract will striking, to brand certain yous don't demand to make any adjustments to the location of the guide-board. The blade should line up and so that it will cut exactly on the inside of the cutting-line.
Step 4: Cut Segments around Sink & Remaining Segments
For an frock-forepart sink, at that place volition demand to be a small notch cutting out of the corner of the pieces of butcher cake that butt against the sink. Use sink instructions or measure the width and length of the notch and marking the corner of each corresponding segment. Use a jigsaw with a fine-molar on the hardwood setting to cut the notch out. Go ho-hum to get the straightest cutting.
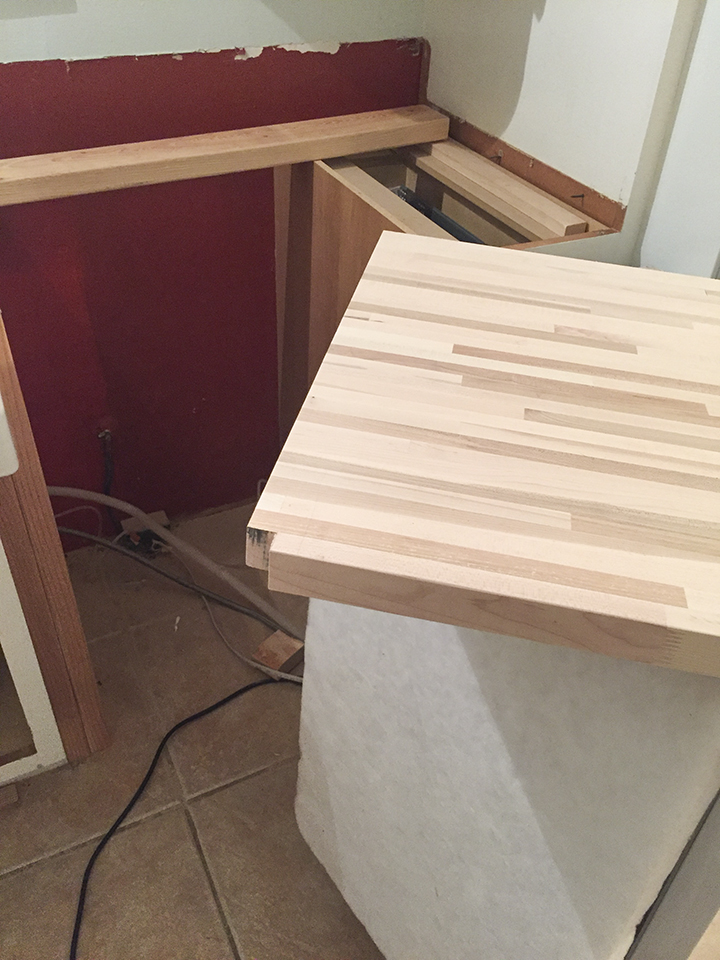
Step 5: Dry Fit, Fill up Holes & Sand all Segments Until Smooth
Once all the segments are cut and have been put in place for a dry-fit to ensure a snug and proper fit, remove them fill small knot-holes with Timber Mate wood filler. And so, in a well-ventilated expanse (garage or outside), offset sanding the wood smoothen. The texture they outset out as is pretty rough, and then start with 120 dust sandpaper, so progress to 180, and finally 220. Become slow to make sure the texture is even and smooth. If you skip one of grits, it will testify when yous do the top glaze. Lightly sand the border of the counters that volition be facing the front, so it isn't precipitous but smoothed downwards a bit.
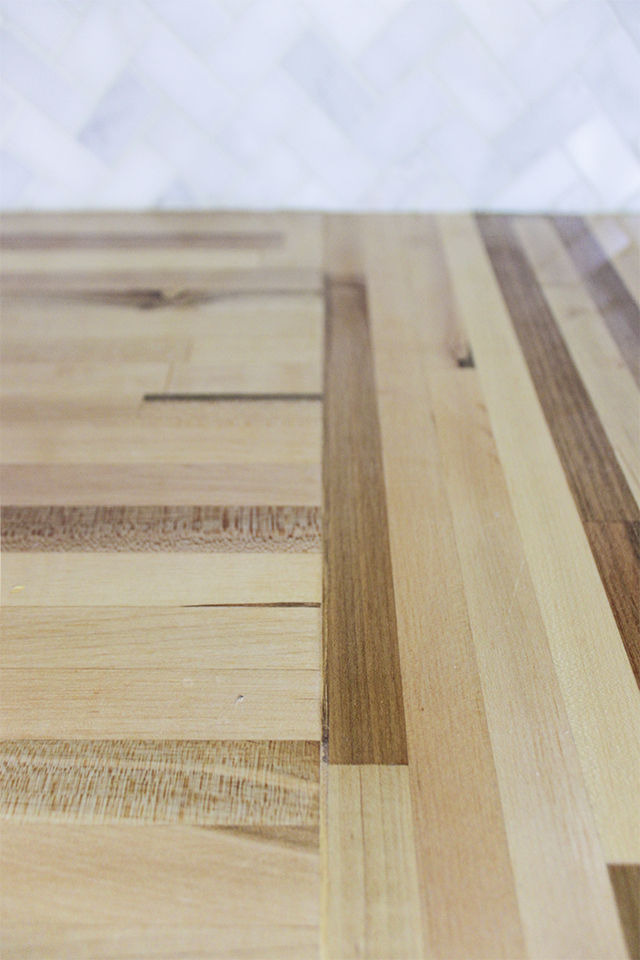
Step 6: Level Counters & Attach Segments with Screws
Once you put your segments into their place, make sure each one is level and doesn't stone by using shims.
Pictured below y'all tin can encounter there were shims used to continue this slice from rocking and level with the adjacent piece.
Clamp them into place, pre-drill the holes, and and then attach with the 3″ screws. Since we re-used the screws that held the previous counter in place, I didn't list their exact size (diameter-wise), but they were 3 inches long, which is not the full length that goes into the two″ thick counter. At that place was about i ane/two″ gap from the piece of forest on the chiffonier base from where the screw started, to the underside of the butcher block counter.
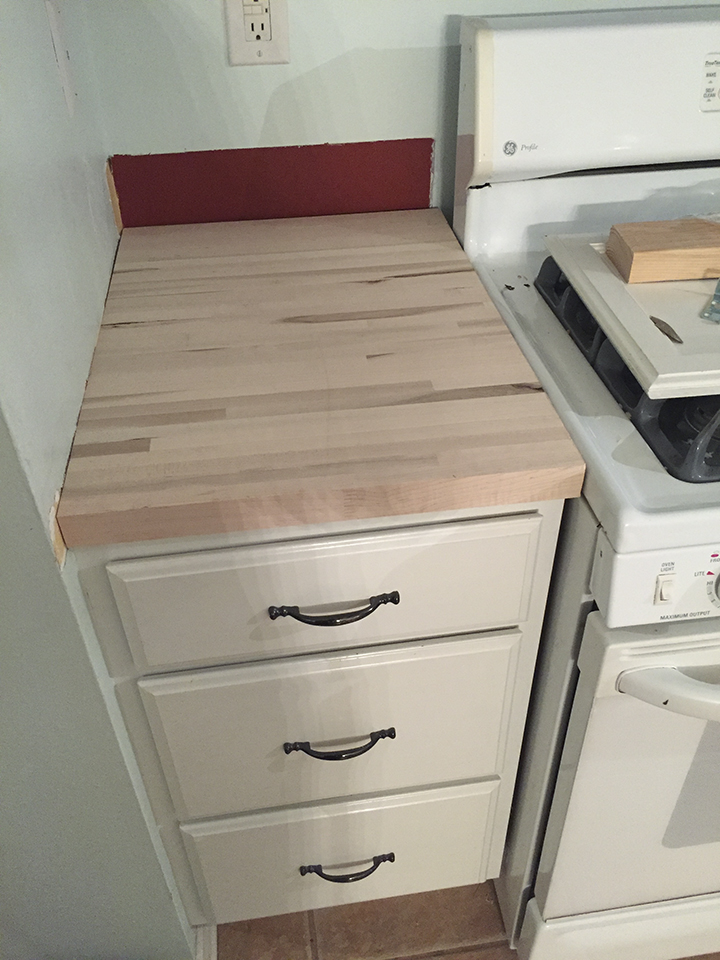
When attaching the "50-Shaped" section of the counters, glue the part of the woods where the two pieces volition barrel against each other, before attaching the screws.
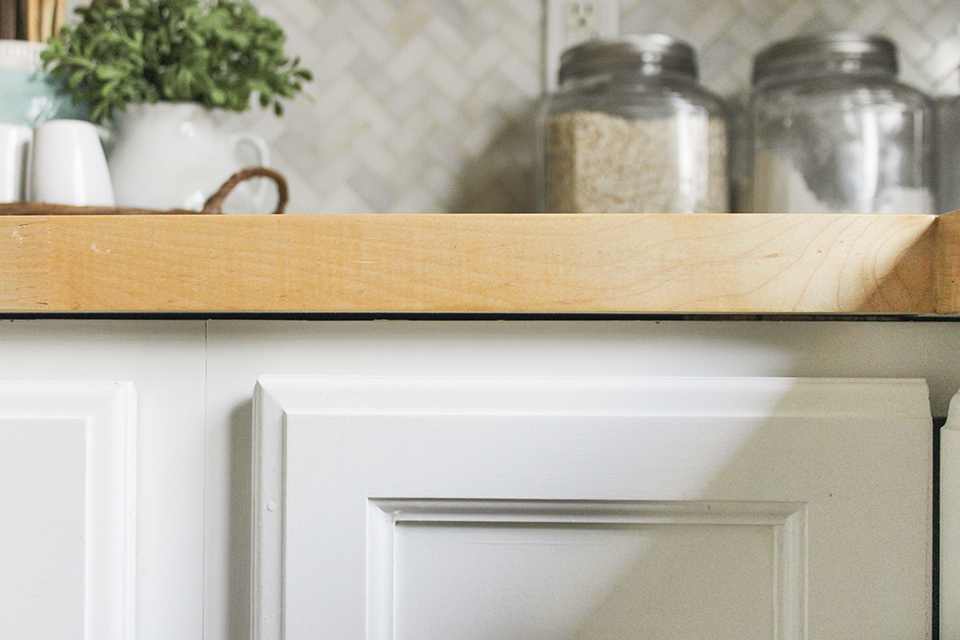
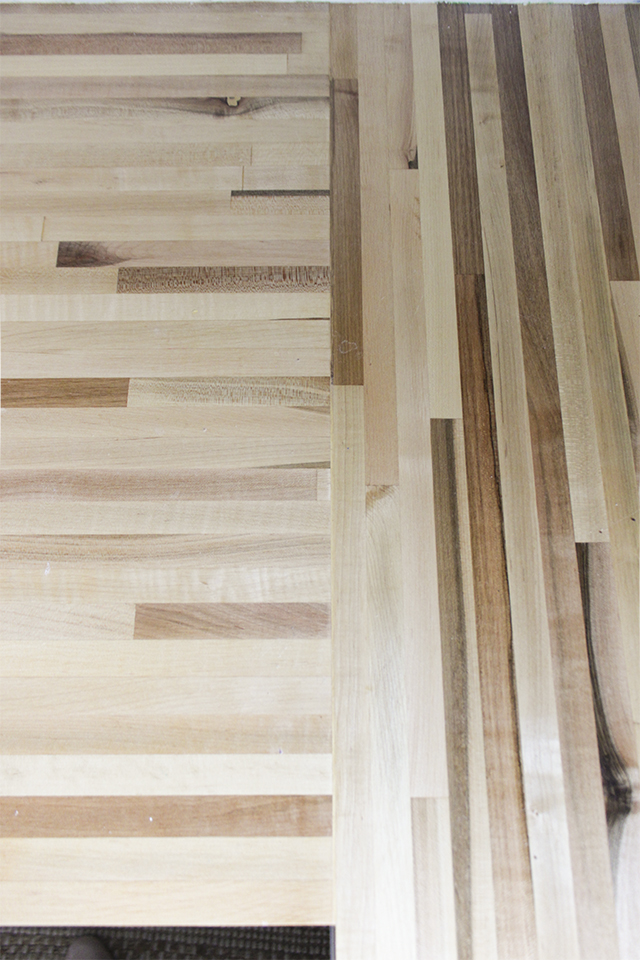
Stride seven: Fill Seam With Wood Filler
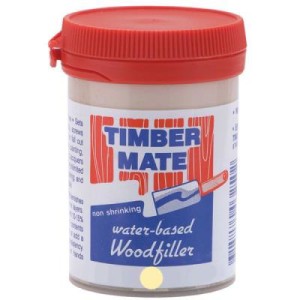
The seam between the two joining segments should exist very pocket-size. Timber Mate wood filler is considered the superior wood filler by nearly woodworkers I found out and should exist used to fill the seam. Sand it polish, one time dry, with 220 dust sandpaper.
**I took a trip to WoodCraft to pick up my previous favorite wood filler past Famowood, and if you have never been in WoodCraft, you should know all of the employees are serious woodworkers and know their stuff. They take a shop in the dorsum part of the store for classes and pretty much whatever sit-in you can think of involving all the tools they sell. One of the guys there told me virtually Timber Mate and how information technology has been used in Australia for years, but recently started selling in the U.S. and has been wildly pop here ever since. It doesn't shrink or fissure, is insanely smooth, dries super fast, comes in a wide variety of colors, and if some dries out from leaving the lid off besides long, you lot can just put little h2o in information technology and information technology softens for like shooting fish in a barrel use again. He showed me how amazing information technology was in store, and I was sold. I just take never seen a wood filler and so polish!**
If you lot are using the wood filler along a darker piece of the butcher block, like I did, I used american walnut stain and a fine circular-tip paintbrush to carefully stain the wood filler portion that was along the darker slice of wood, so it would blend in.
If you look carefully, yous can see where the wood filler is and where I painted the stain on that one little section.
Footstep 8: Use Waterlox
Using the lambswool staining pad, utilise a coat of Waterlox, permit it dry 24 hours, then sand it with 220 grit sanding sponge. TRUST ME when I tell you to Not use a natural bristle brush to apply Waterlox. A natural bristle brush (even the very expensive ones) bubbled like crazy, no affair how slow and conscientious I went. As presently every bit I used lambswool, it was like a dream. No bubbles hardly at all and they were easily smoothed out after a 2nd pass-through. You lot may need a few pads, in case it gets dried out with each coat, but it is fairly inexpensive.
 I opened the window immediately after applying each coat, and had a, oscillating heater fan running, facing towards the window to blow the fumes outside. After six hours the smell isn't bad and you tin be around it without causing whatsoever headaches or bug. For the third and 4th coats, sand the surface with 600 grit sandpaper to go information technology super smooth (in case a particle here or there stale on the surface), and wipe with a microfiber cloth.
**I asked the guys at WoodCraft about the depression VOC choice of Waterlox and they told me it was crap. It doesn't accept the correct hardeners that get in super durable. They also said the same original version that I bought and used on my counters was used on the floors of the Canadian Library of Congress. And so yes, it is freakin tough… and it is besides food condom.**

Step ix: Reinstall Sink
Put sink into identify and secure with brackets below (provided with Ikea sink). Reattach all the plumbing and if you have a new faucet to install, do that at the same time. Make sure to utilize a h2o-based kitchen and bathroom waterproof agglutinative caulkbefore laying down the sink. Do NOT apply the oil-based silicone because the mineral spirits clean-up volition remove the Waterlox top-coat.
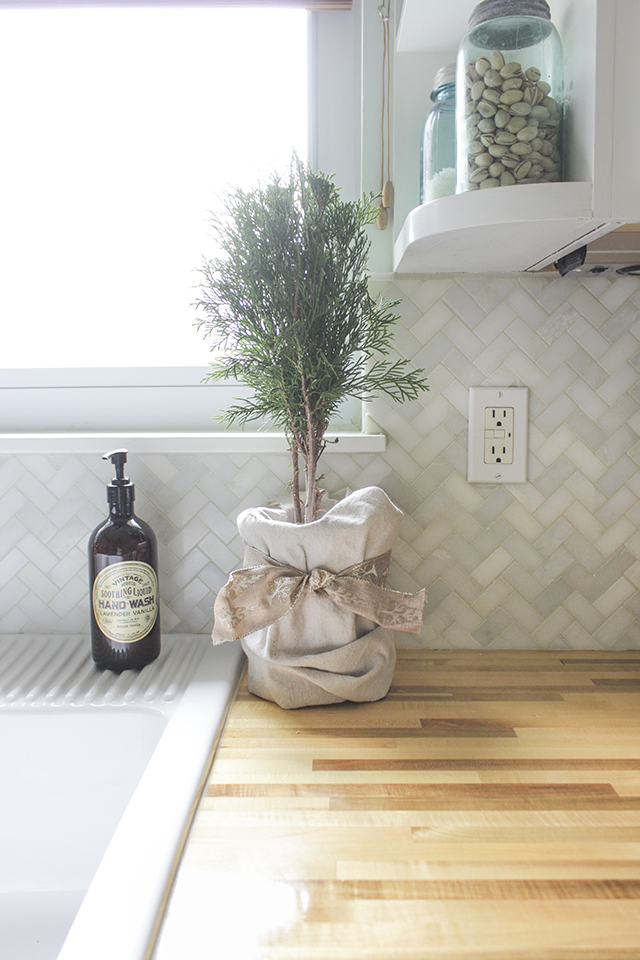
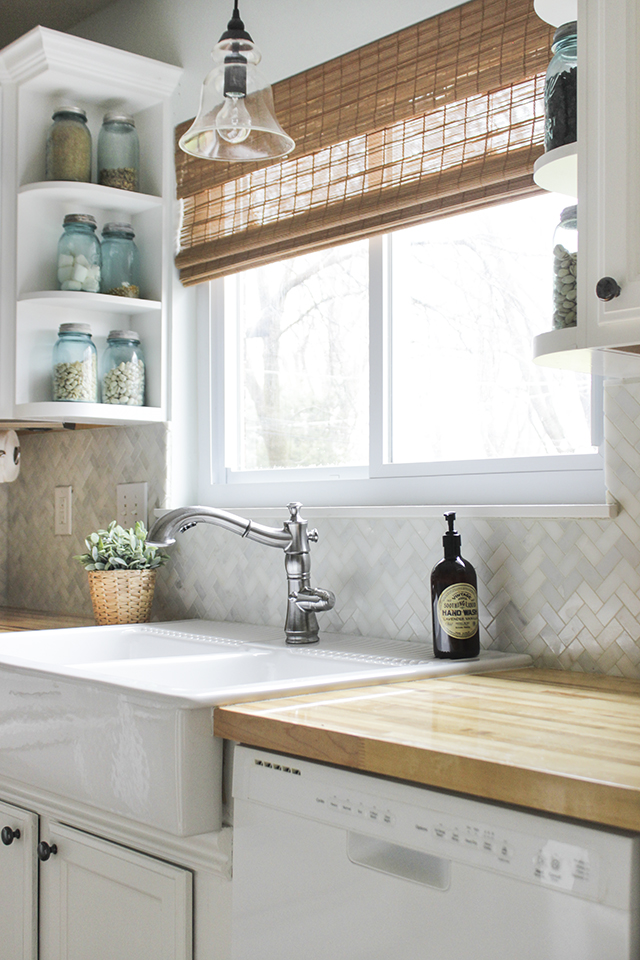
I partnered with Delta Faucets again for this kitchen makeover, and chose the Cassidy Single Handle Pull-Out Kitchen Faucet in Arctic Stainless. Isn't information technology glorious?! I dearest the classic, vintage style, but updated with the crawly pull-out spray feature.
Next post, I'll share my backsplash tutorial!

**I partnered with Lumber Liquidators and Delta Faucet for this kitchen makeover. I was provided with their products mentioned in this post, but all opinions and rave reviews (LOVE my counters and my faucet) are my ain.

Source: https://www.shadesofblueinteriors.com/how-to-install-butcher-block-countertops/
Posted by: gardnerwastleime35.blogspot.com
0 Response to "How To Install Butcher Block Countertops Lowes"
Post a Comment